
Chameleon Design Featured Project: Marblehead Information Center, San Clemente
For this project, Chameleon Design was asked to work with an unbranded developer to help sell the last stretch of undeveloped coastline designated for high-end custom homes. The catch was that the only structures in place were two trailers! Not to mention, neither had a view, and that was a main selling point.
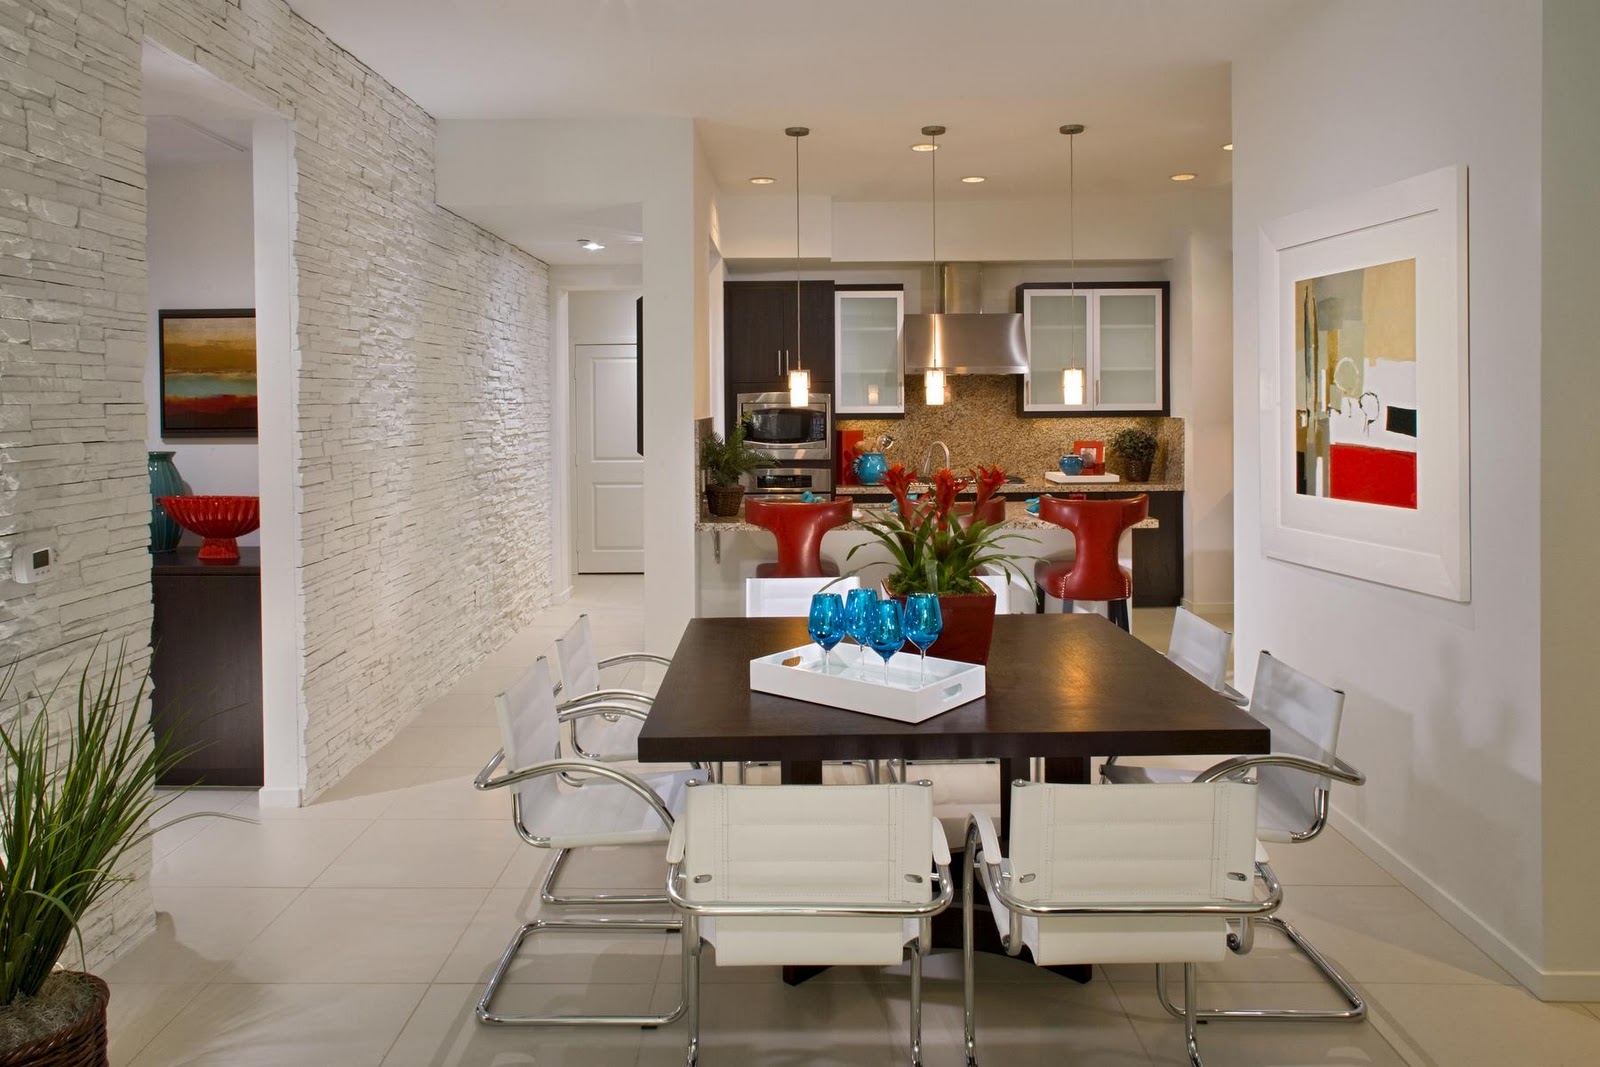
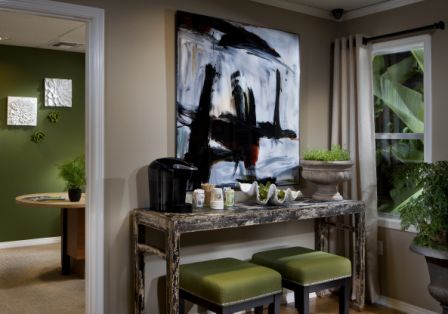
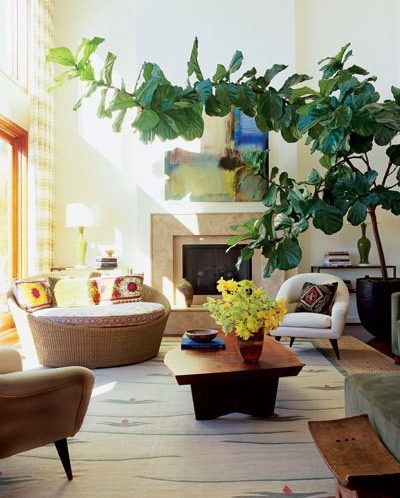
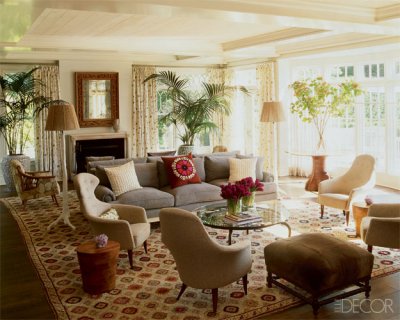
We tackled this project successfully by simply bringing the outdoors in. There were two distinct buildings, the first being the Sales Office. In this space we showcased a uniquely expansive topographic map with drawers that house small scale maps, giving the buyer a more detailed look of their prospective lot. Above the map was a dramatic aerial photograph on a tackable surface, with space for photographs of work in progress. We went with a color palette of sky and sand, with accessories of stone and a waterfall impact logo overlayed on the window.


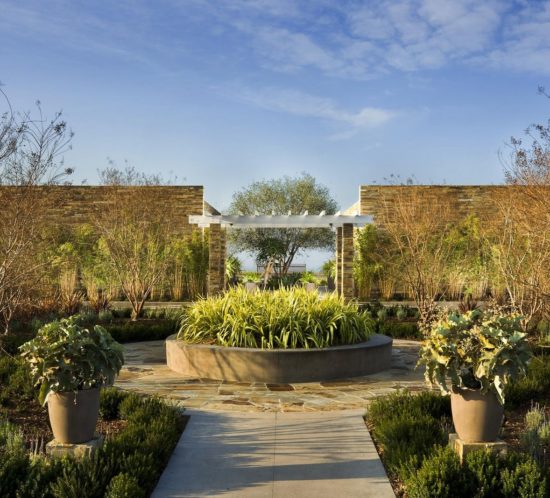
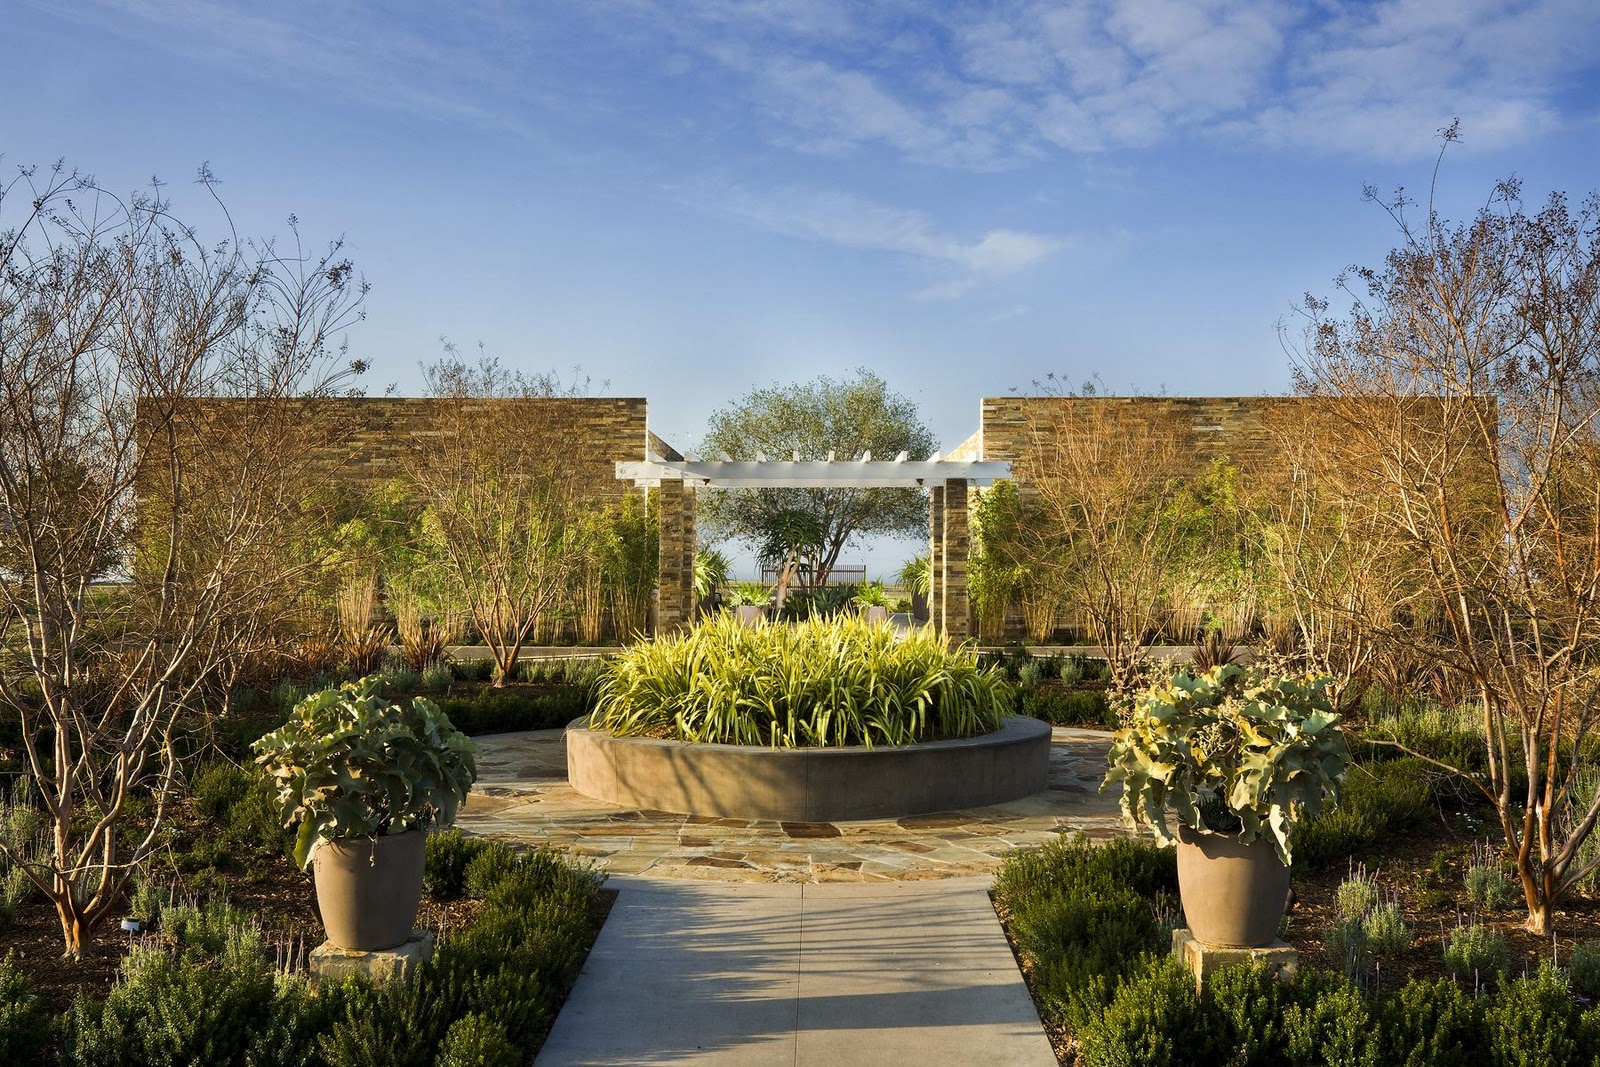
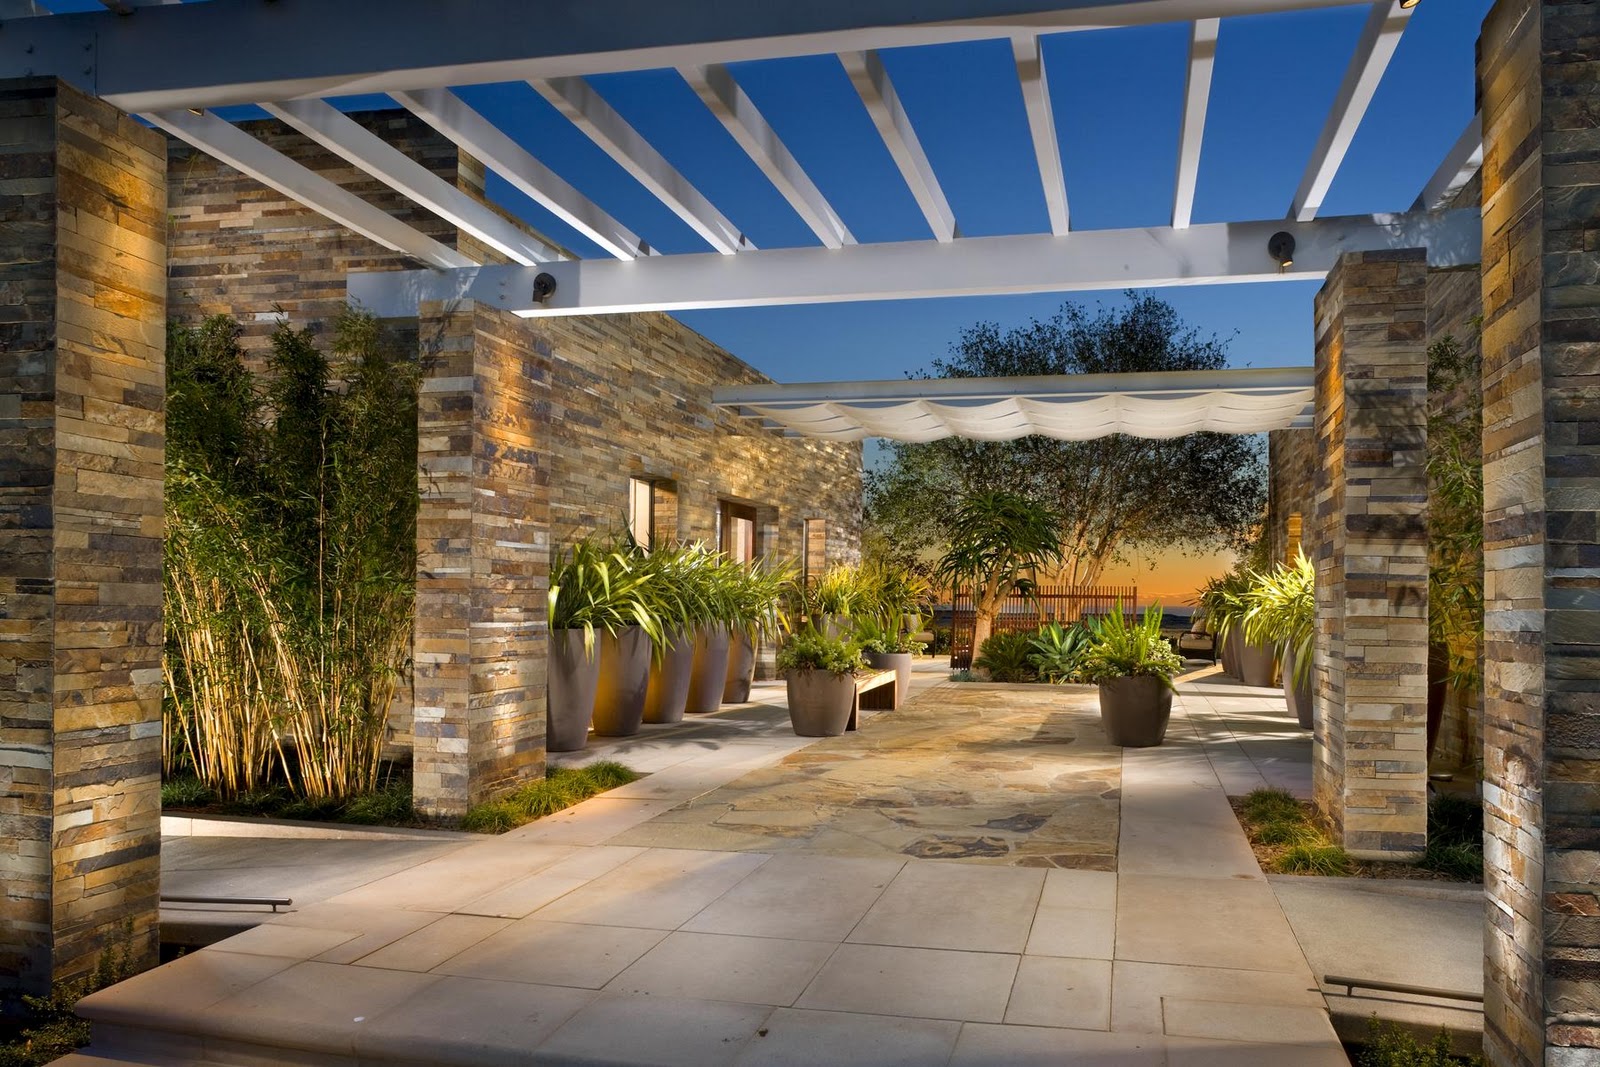
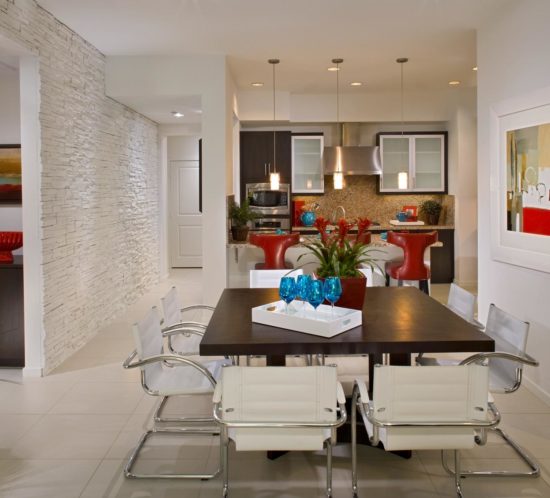
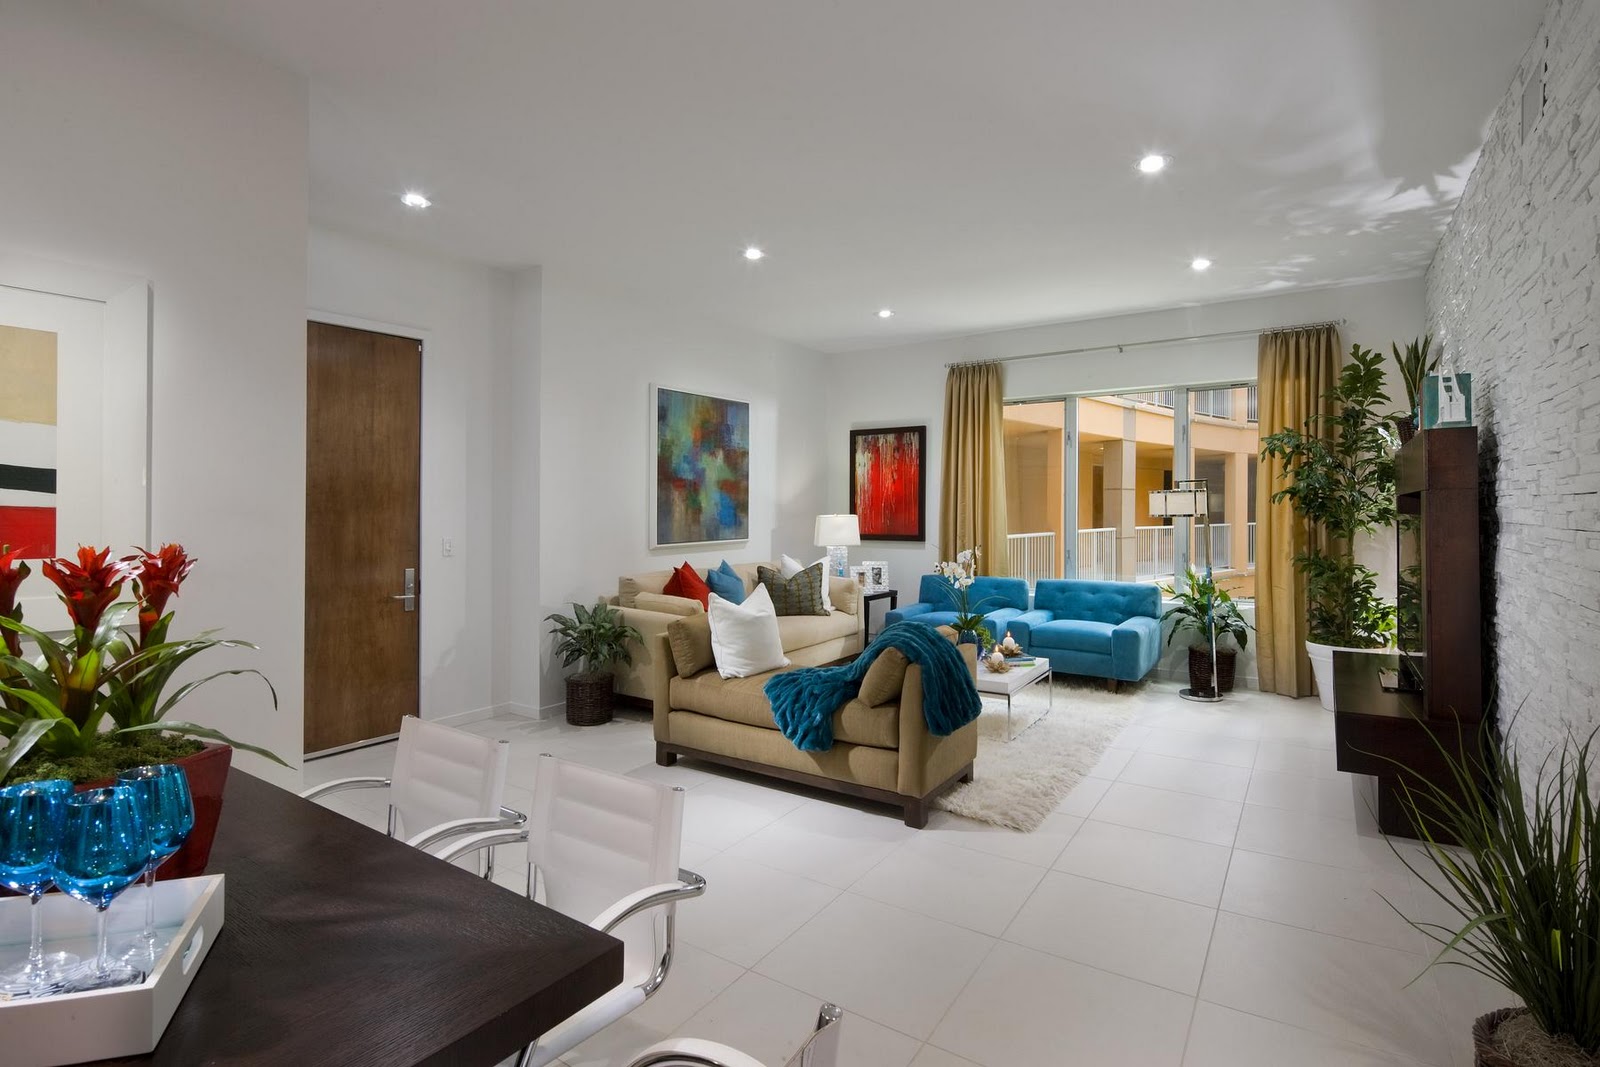
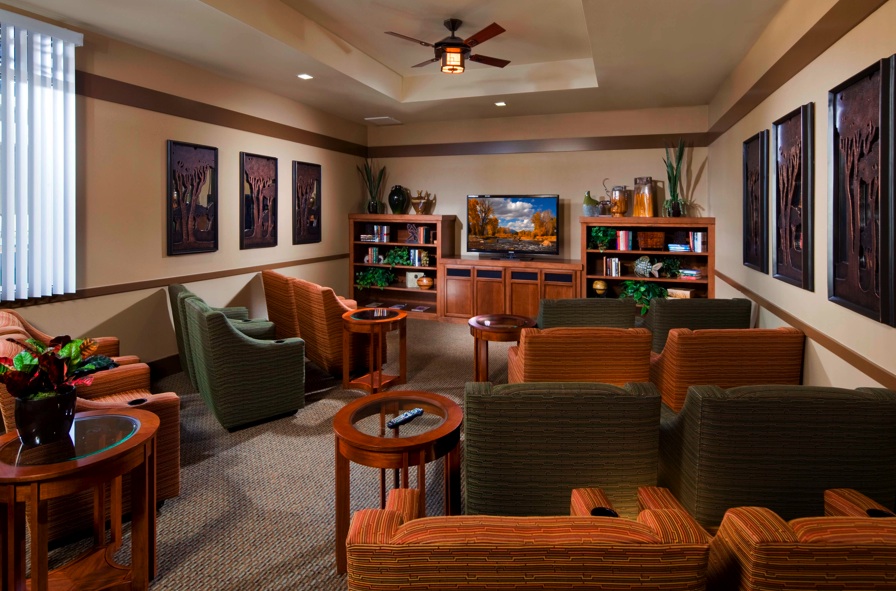
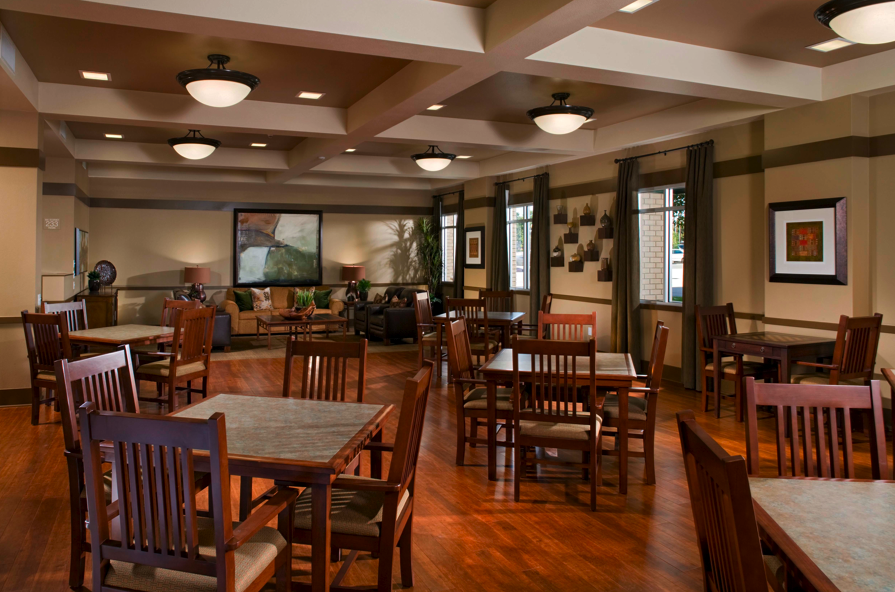
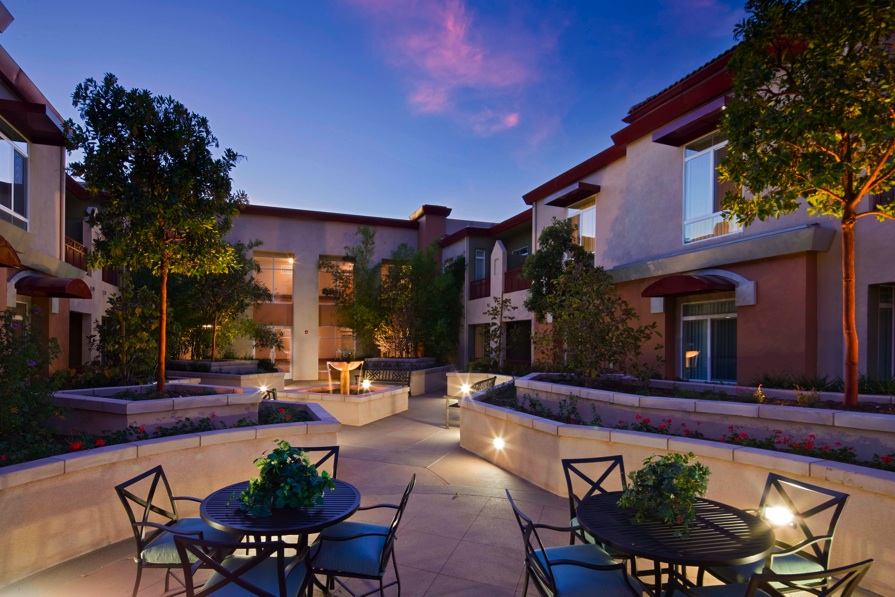
Outdoor living rooms and modern arbors, expanded the sense of spaciousness. Everything was designed to launch a new aesthetic away from the Mediterranean and toward the modern, and to capture the rugged California coast with a sense of elegance and modernity.
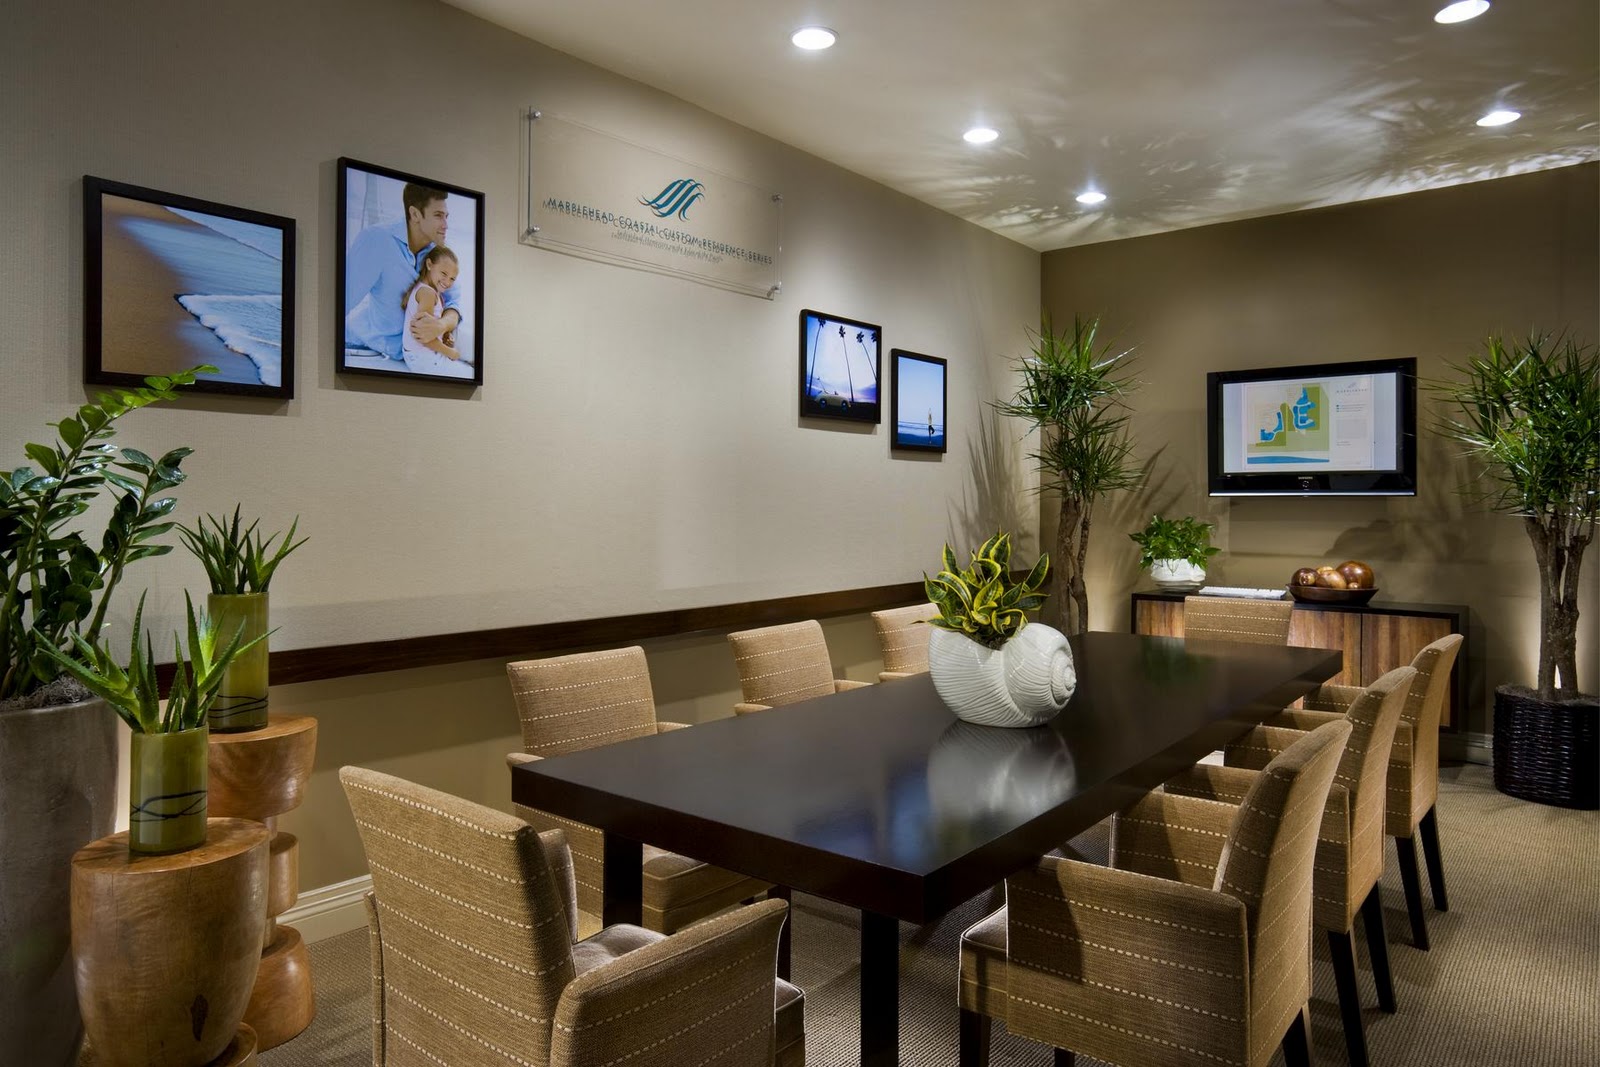
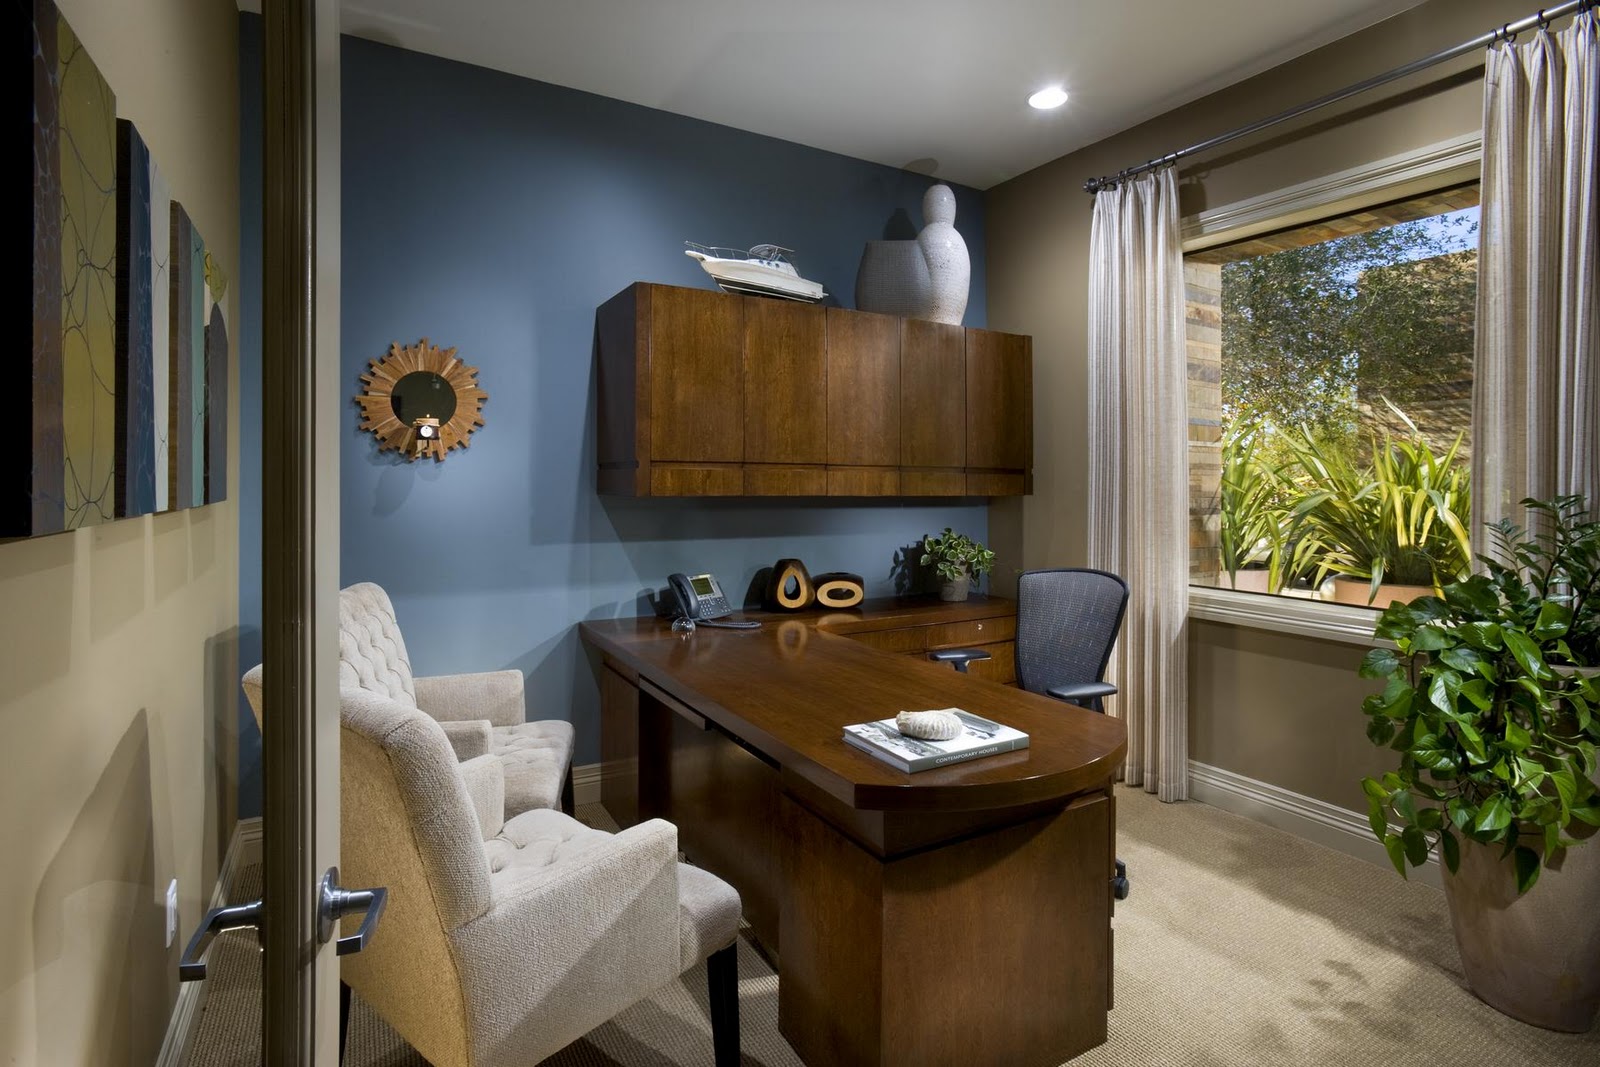
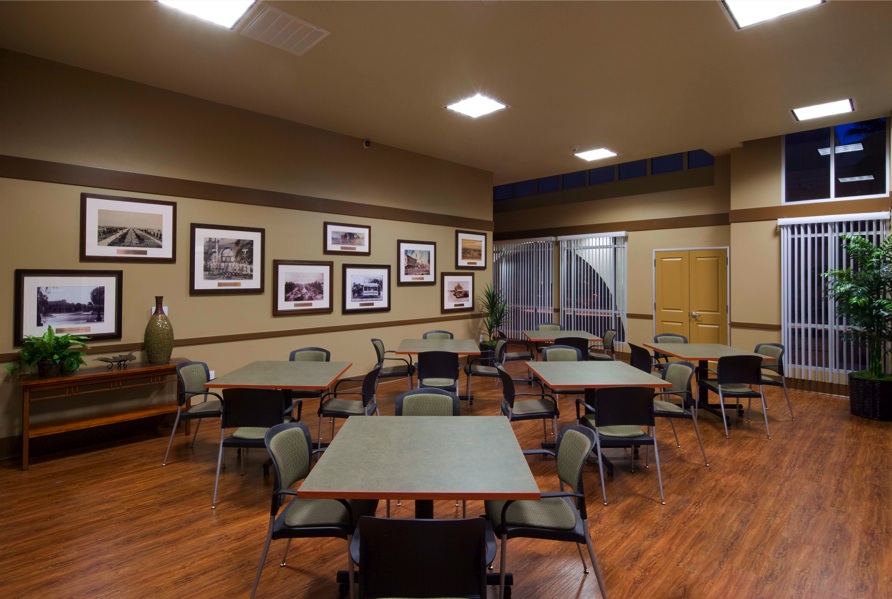
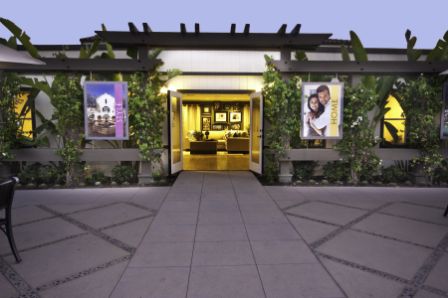
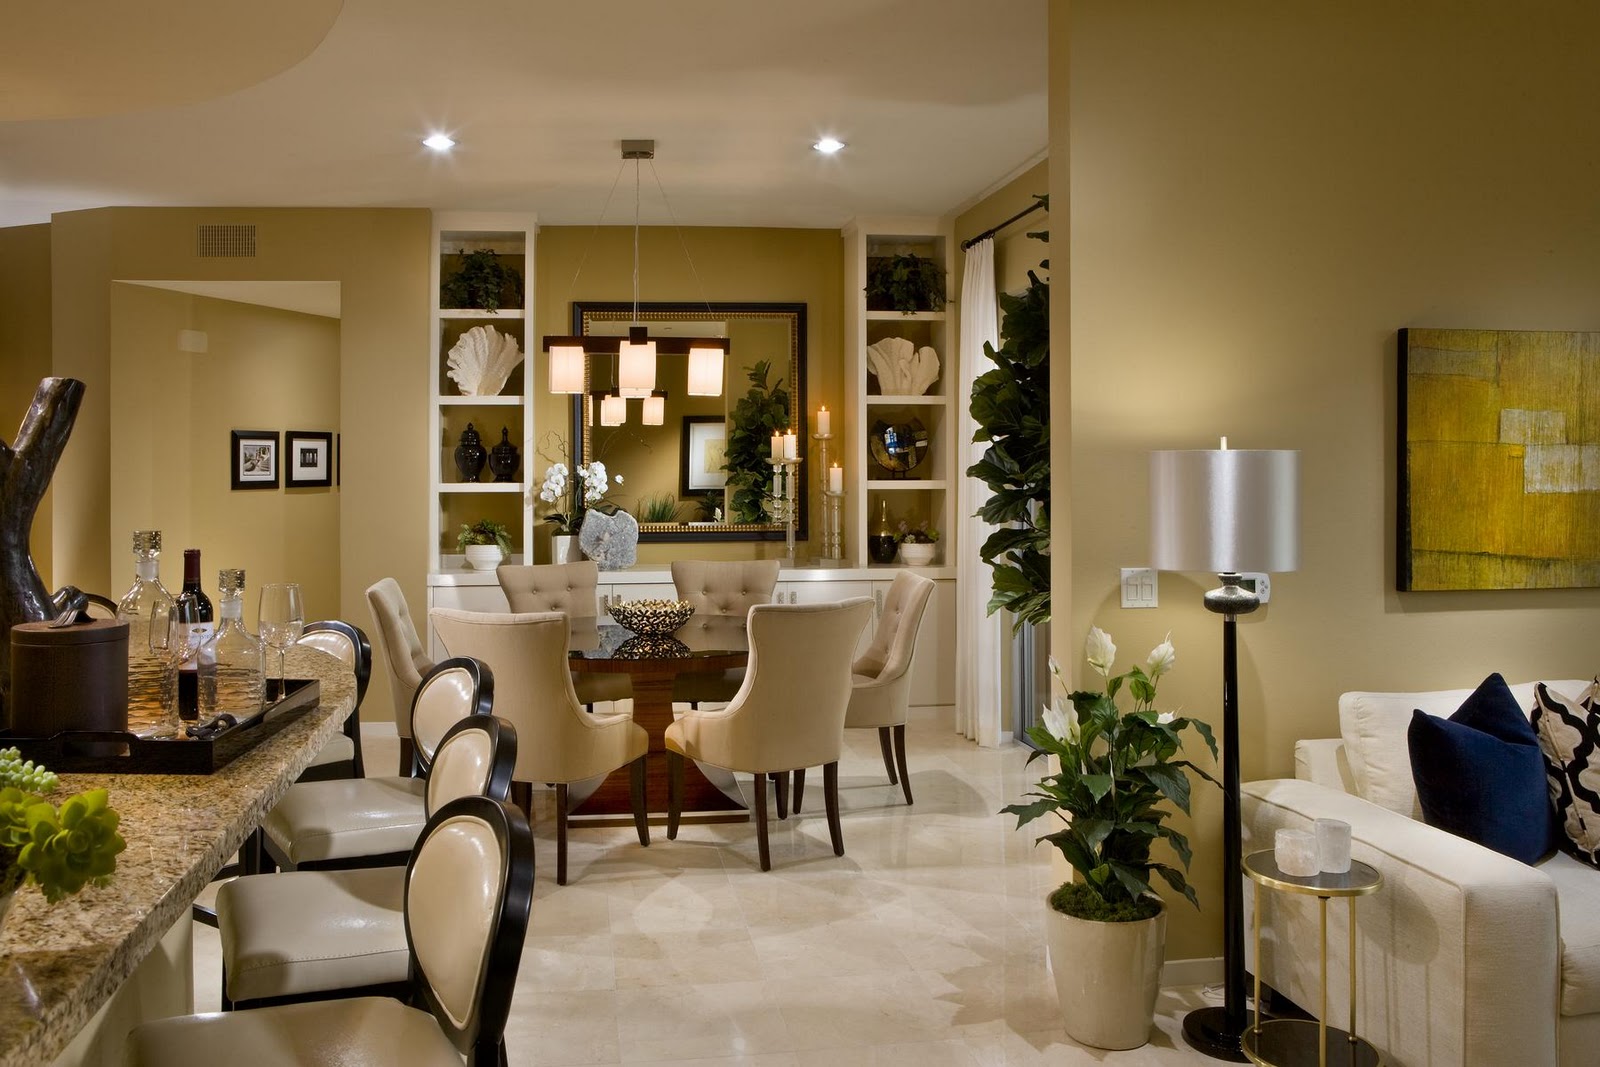
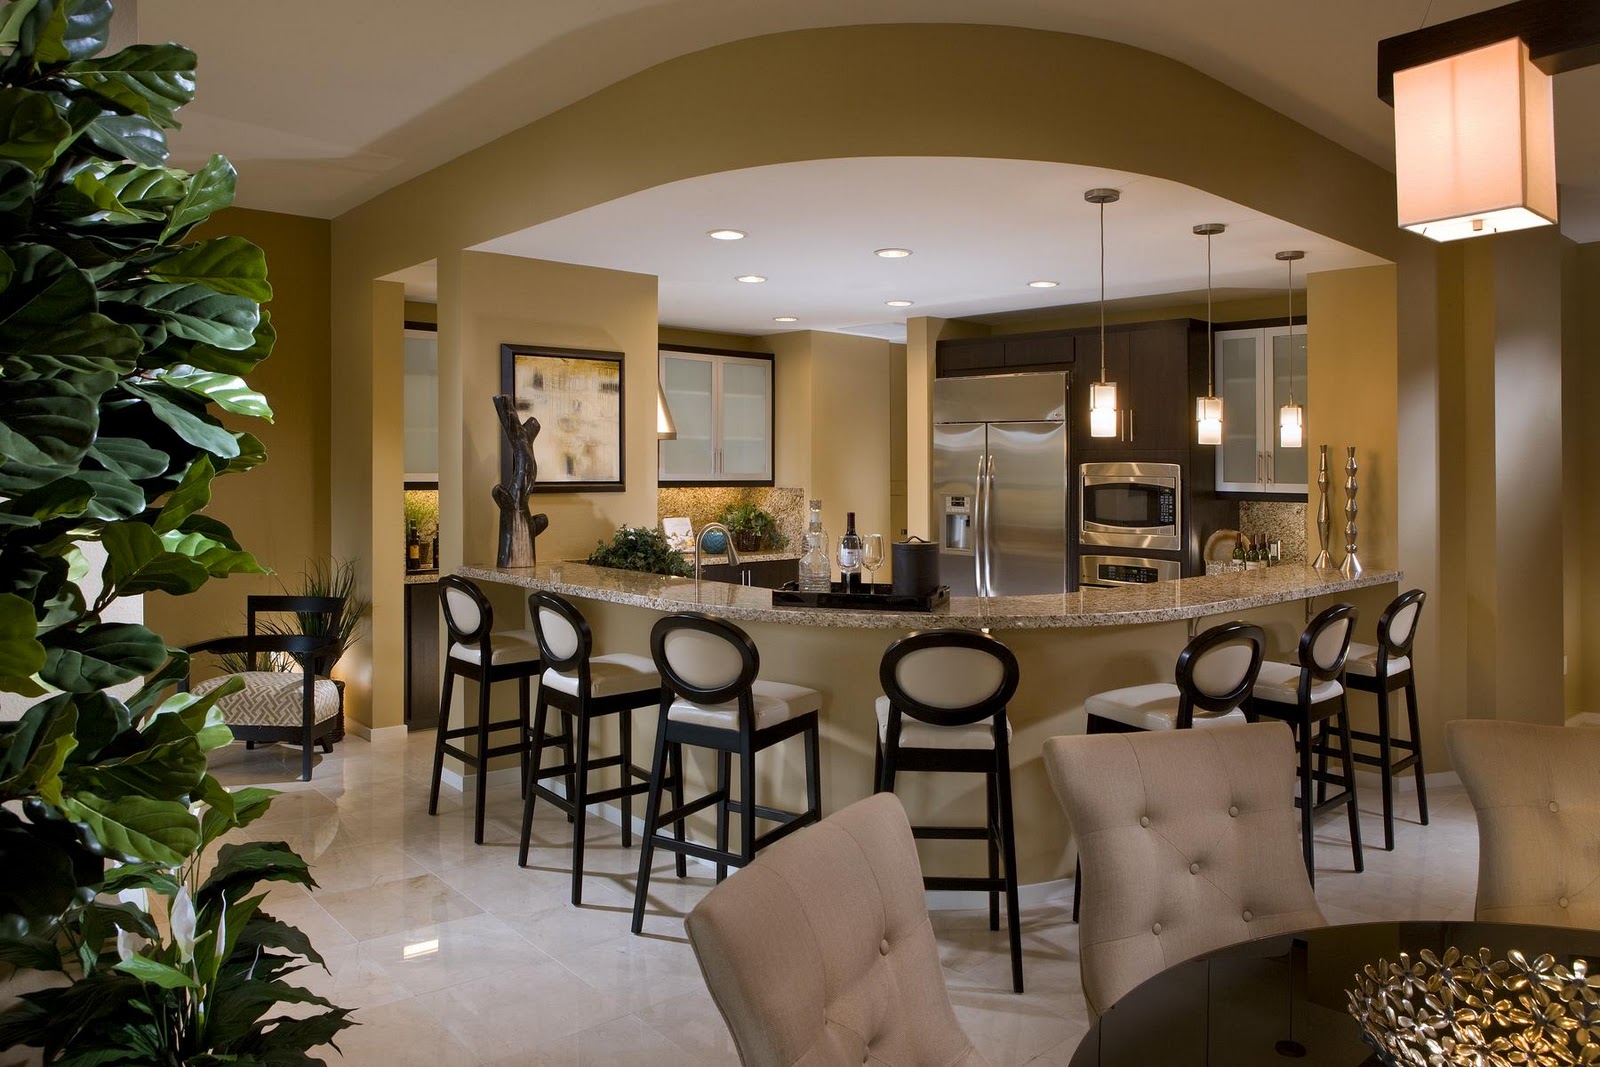
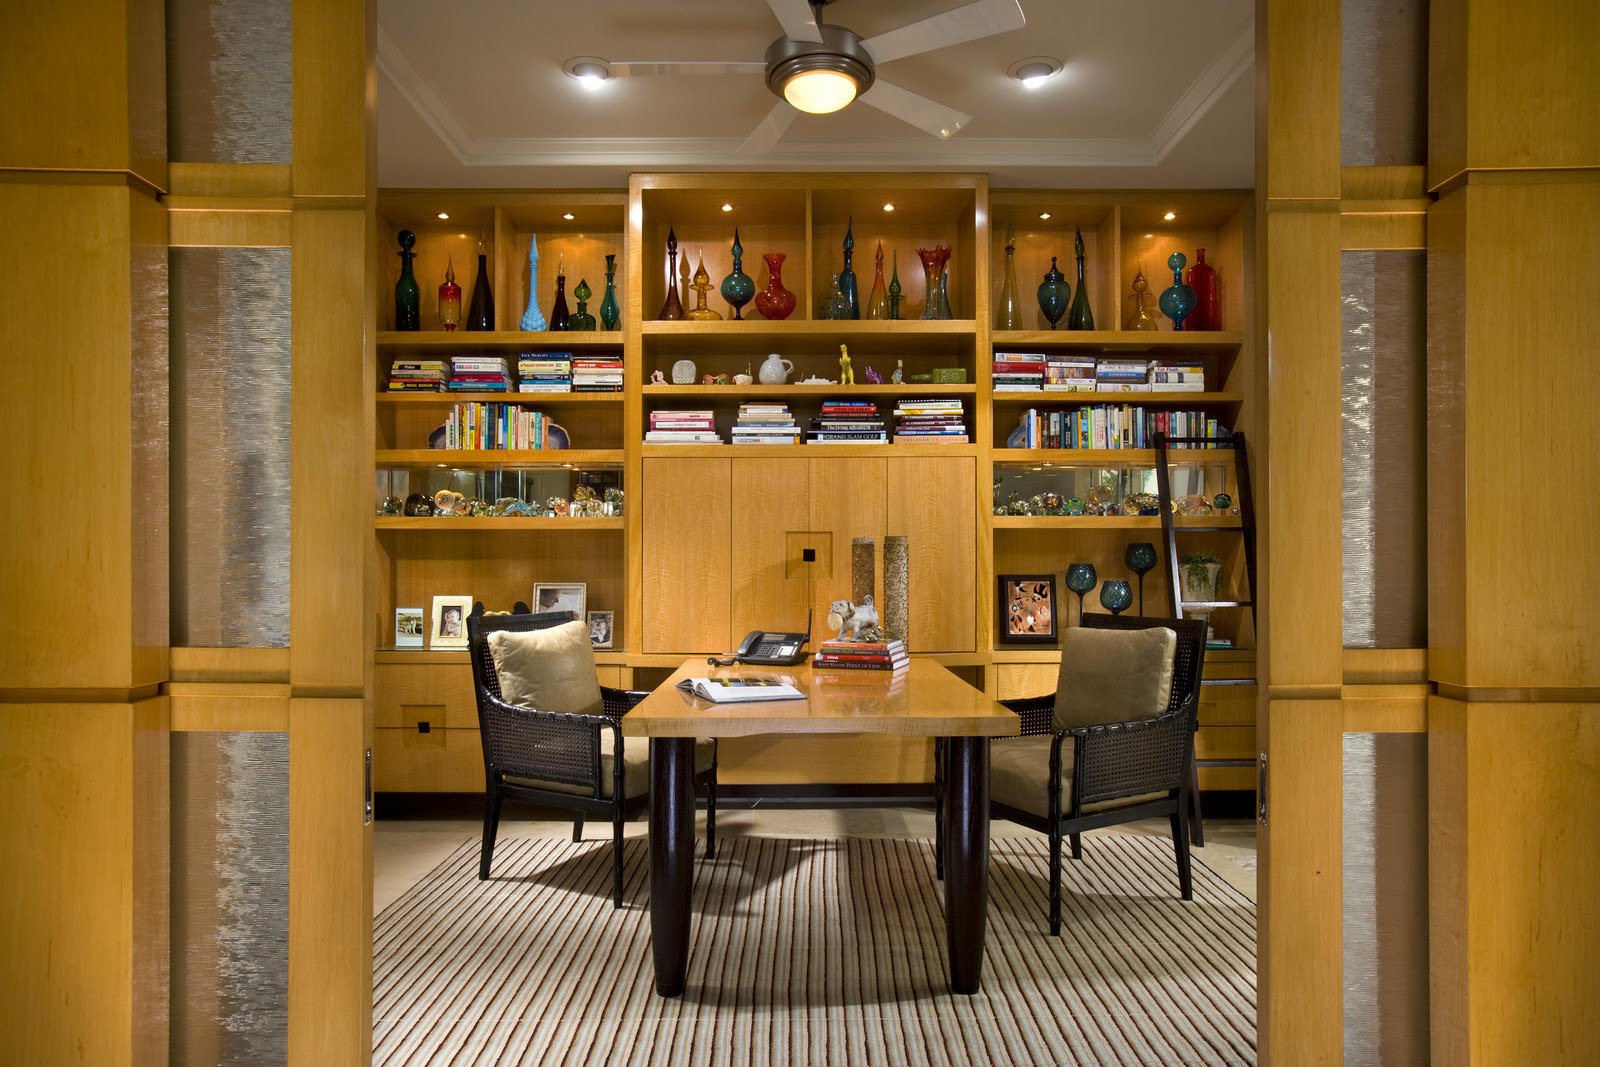
The second building, the Meeting Center, provided resources for both architects, clients, and builders alike to work or show clients a video of the development.


