
Multi-Functional Spaces at Dover at Compass Bay’s Plan 4
The Plan 4 model at Dover at Compass Bay is a little modern masculine and a lot of casual luxury situated in the desirable city of Newark on the San Francisco Bay. Upon entry, you look through the dining area and into the great room. There is a lovely play of comfort, laid-back luxury, and masculine sophistication with the use of gray, black, and tan. Balanced with contrasts of textural and smooth, raw and refined that play off one another and encourage the eye to dance around the light-filled open-concept floor plan. A dramatic inky black wall and wood slice decor welcome you down the hall towards the garage entry/drop zone and beyond to the home’s main living areas.
Upstairs in the master bedroom, striking black tongue-and-groove paneling takes a turn three quarters up the wall, warm wood bedside cabinets, and a frosted glass chandelier offer moments of relaxation and repose. It wouldn’t be 2021 if we didn’t include some creative use of space, and multiple master closets allowed us to seamlessly integrate a stylish and cohesive workstation that can be more private when you close the black-framed sliding doors. The study room for parents and kids is a multi-purpose design done right. Kids can make the most of its layout with multiple workstations, a Zoom-worthy floating desk, and contemporary art background. The secondary bedroom and laundry room continue the calm and cool palette with warm wood touches, making this three-bedroom floor plan by Trumark Homes a welcoming retreat many families would love to call home.
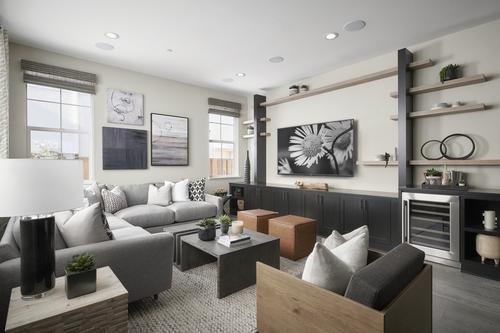
Photo Credit: Chameleon Design
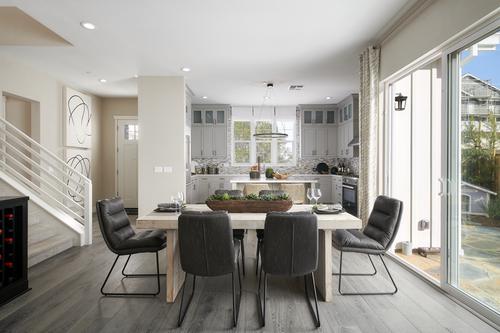
Photo Credit: Chameleon Design
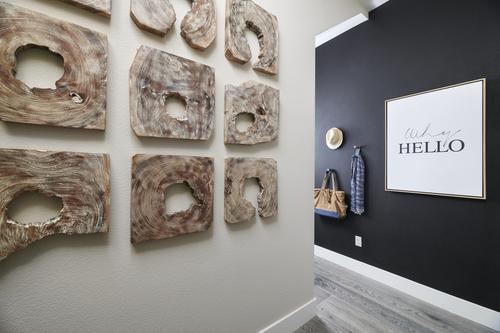
Photo Credit: Chameleon Design
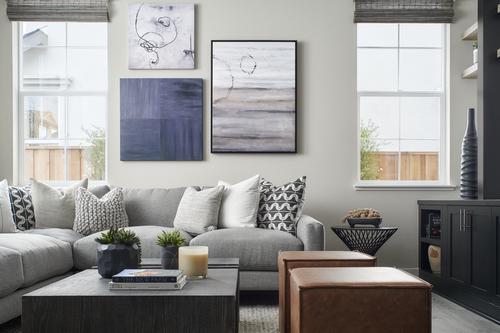
Photo Credit: Chameleon Design
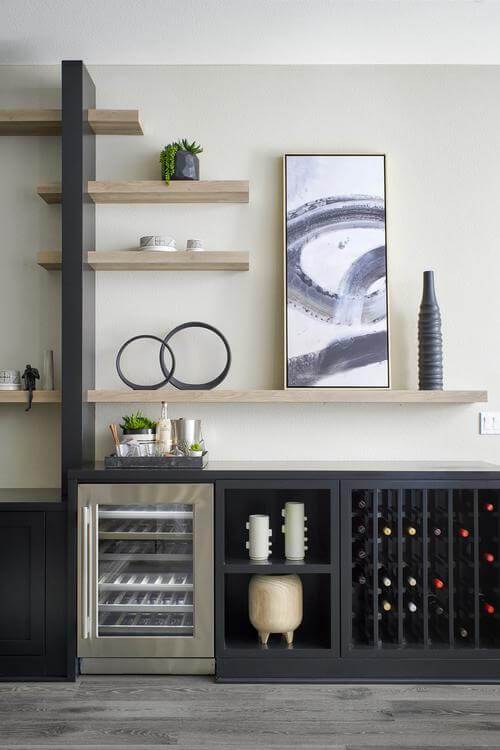
Photo Credit: Chameleon Design
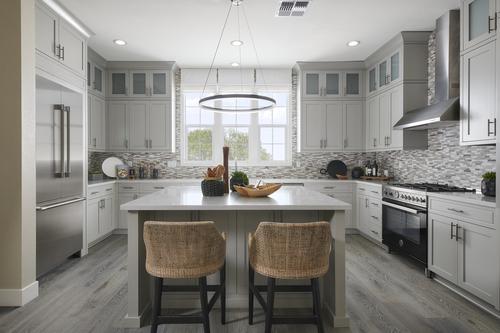
Photo Credit: Chameleon Design
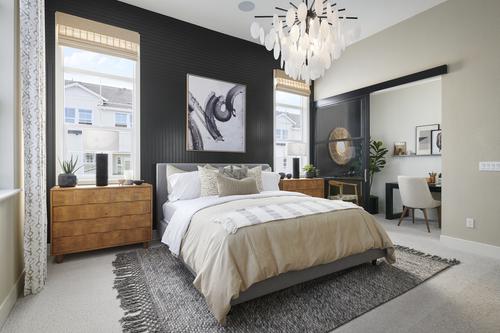
Photo Credit: Chameleon Design
Photo Credit: Chameleon Design
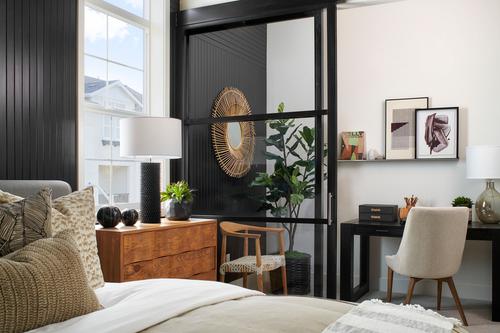
Photo Credit: Chameleon Design
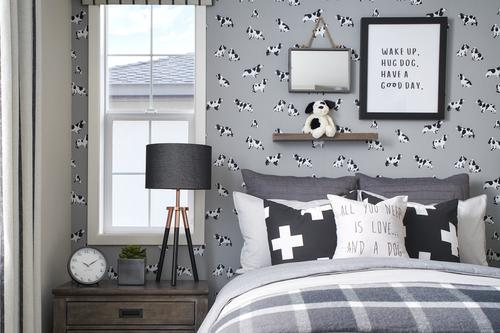
Photo Credit: Chameleon Design

Photo Credit: Chameleon Design
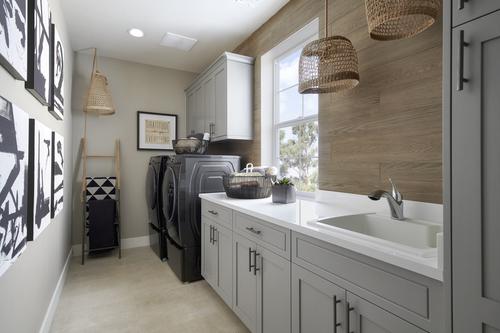
Photo Credit: Chameleon Design